ADVERTISEMENT
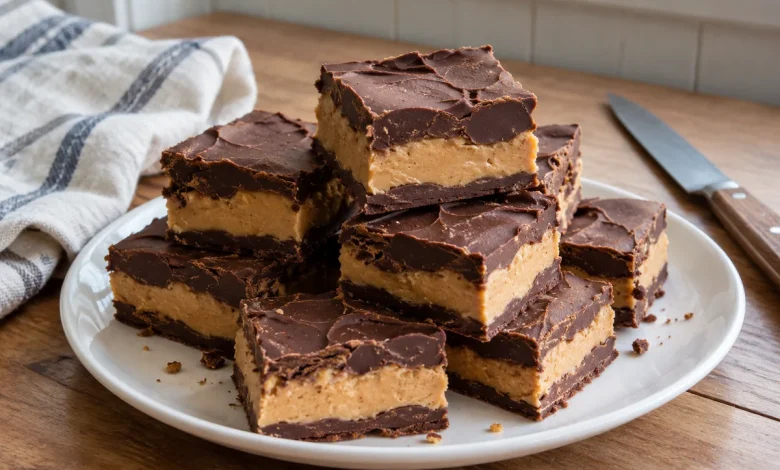
This chocolate peanut butter fudge starts with just two ingredients: a tub of chocolate frosting and creamy peanut butter. There is no candy thermometer, no stovetop and no waiting for sugar to reach the right stage. You melt, spread and chill. The result is a thick, creamy square with a rich chocolate layer on the top and bottom and a soft peanut butter center in the middle. Plan on about 10 minutes of hands-on work, then 1 to 2 hours in the refrigerator while it sets.
Why You’ll Like This Chocolate Peanut Butter Fudge
Classic fudge can be fussy. This version skips the fuss and still gives you a sliceable, shareable treat. The frosting already has the sugar and chocolate flavor built in, and the peanut butter adds body so the fudge firms up as it chills. Because it is layered, every bite has both flavors, and the cut edge looks great on a plate.
- Only 2 ingredients: one tub of chocolate frosting and creamy peanut butter.
- Ready in 10 minutes of active time: the microwave does the melting, and the refrigerator does the setting.
- Looks impressive: the peanut butter middle layer shows when you cut the squares.
- Easy to make ahead: it keeps well in the refrigerator, so it suits holiday trays, parties and bake sales.
Ingredients for Chocolate Peanut Butter Fudge
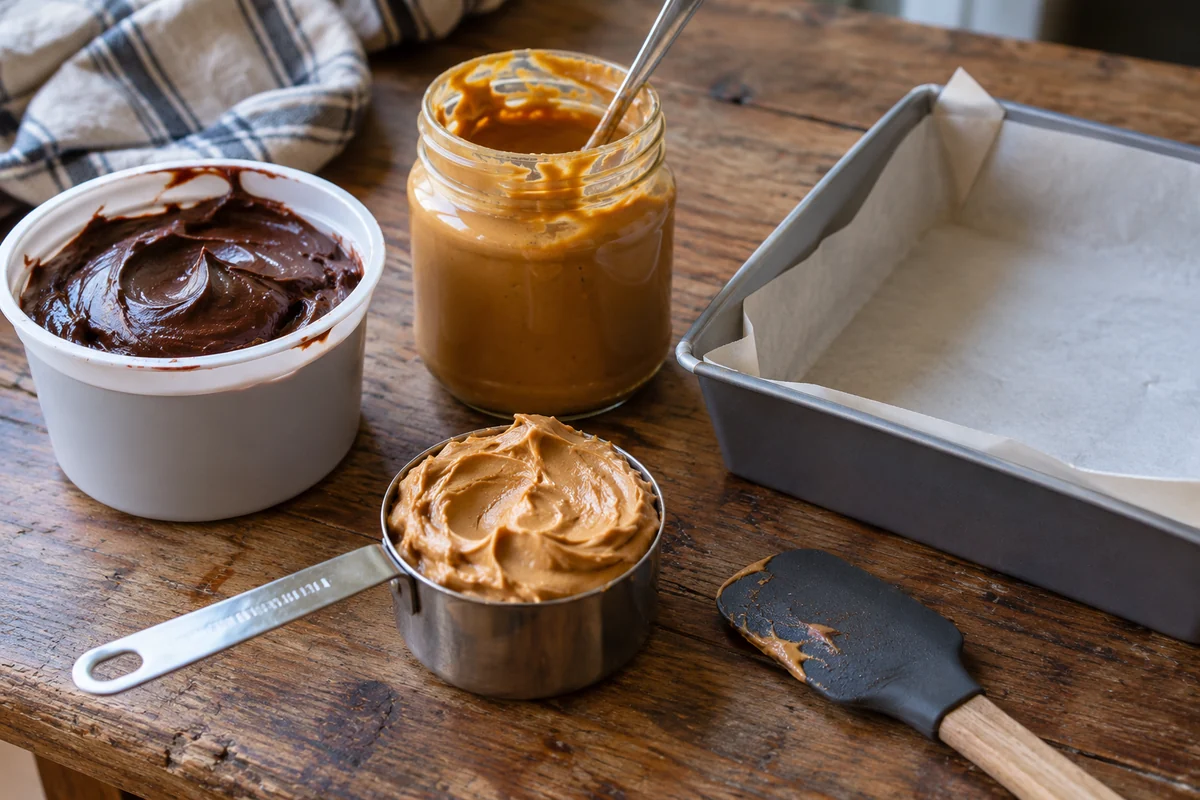
- 16 ounces chocolate frosting (one canned tub)
- 2½ cups creamy peanut butter, divided into 2 cups and ½ cup
Ingredient Notes
Chocolate frosting: A standard 16-ounce tub of creamy chocolate frosting is what this recipe is built around. Stir it before measuring so the texture is even. Whipped frosting is lighter and softer, so stick with the regular, dense kind for fudge that holds its shape.
Creamy peanut butter: Use a smooth, creamy peanut butter that is well stirred, since oil can separate in the jar. Natural-style peanut butter that tends to be runny may give you a softer center, so a conventional creamy peanut butter is the safer choice here.
How the peanut butter is split: The ½ cup goes into the chocolate layer, which thickens the frosting so it sets into real fudge. The remaining 2 cups make the peanut butter center.
ADVERTISEMENT
How to Make Chocolate Peanut Butter Fudge
Before You Start
Line an 8×8-inch pan with parchment paper, leaving a little extra hanging over two sides to use as handles later. Pressing the paper into the corners now makes the finished fudge much easier to lift out. Have a spatula and two microwave-safe bowls ready, because the layers need to be spread while they are still soft.
Step by Step
- Make the chocolate layer. Scoop the entire tub of chocolate frosting into a microwave-safe bowl and add ½ cup of the peanut butter.
- Melt in short bursts. Microwave for 30 seconds, stir well, then continue in 15 to 20 second bursts, stirring between each one, until the mixture is smooth, glossy and pourable. Stop as soon as it is smooth. Overheating can make it too thin and greasy.
- Spread the first chocolate layer. Pour about half of the chocolate mixture into the lined pan. Spread it into an even layer, reaching all the corners. Set the bowl with the rest of the chocolate mixture aside.
- Chill briefly. Place the pan in the refrigerator for 10 to 15 minutes, just until the bottom layer is firm enough to hold a second layer without mixing.
- Melt the peanut butter center. Put the remaining 2 cups peanut butter in a second microwave-safe bowl. Heat for 20 to 30 seconds, stir, and repeat only if needed, until it is soft, smooth and easy to spread. It should be warm, not hot.
- Add the peanut butter layer. Pour the peanut butter over the chilled chocolate layer and smooth it out with a spatula, working gently so you don’t drag up the chocolate beneath. Return the pan to the refrigerator for another 10 to 15 minutes.
- Warm the remaining chocolate. If the reserved chocolate mixture has thickened, microwave it for 10 to 15 seconds and stir until it is spreadable again.
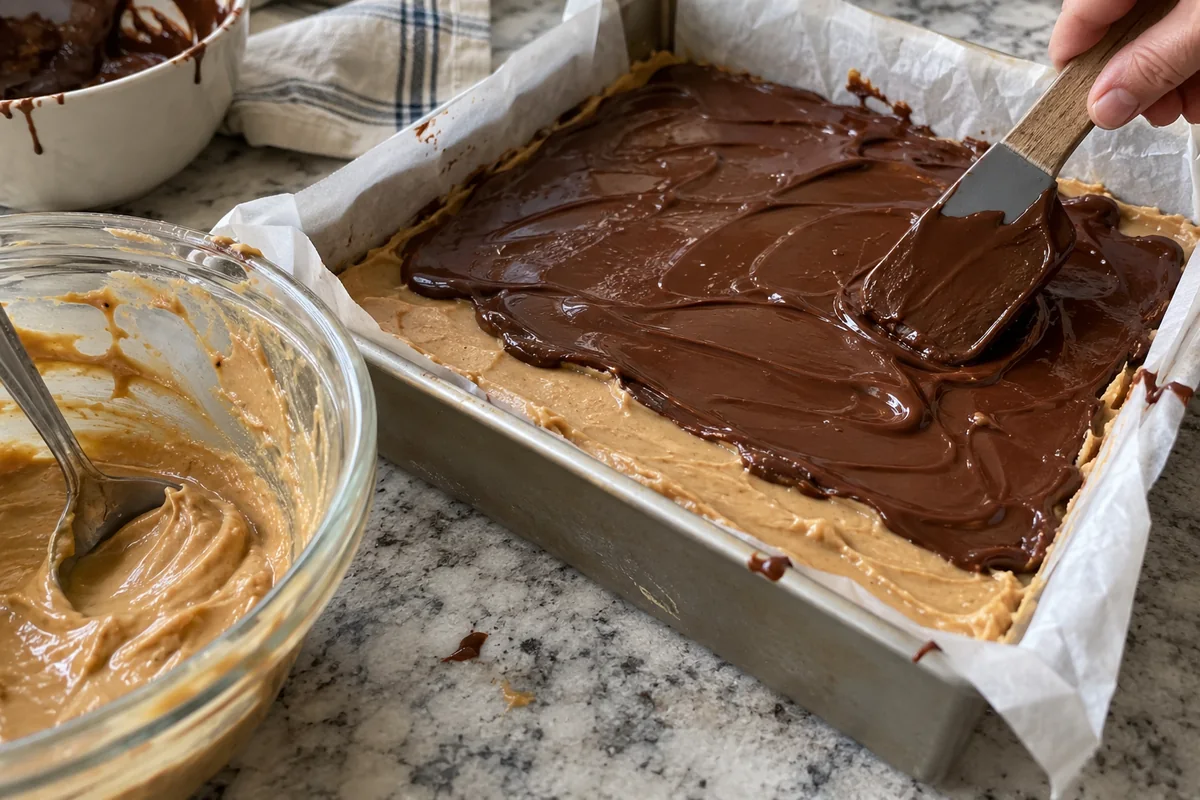
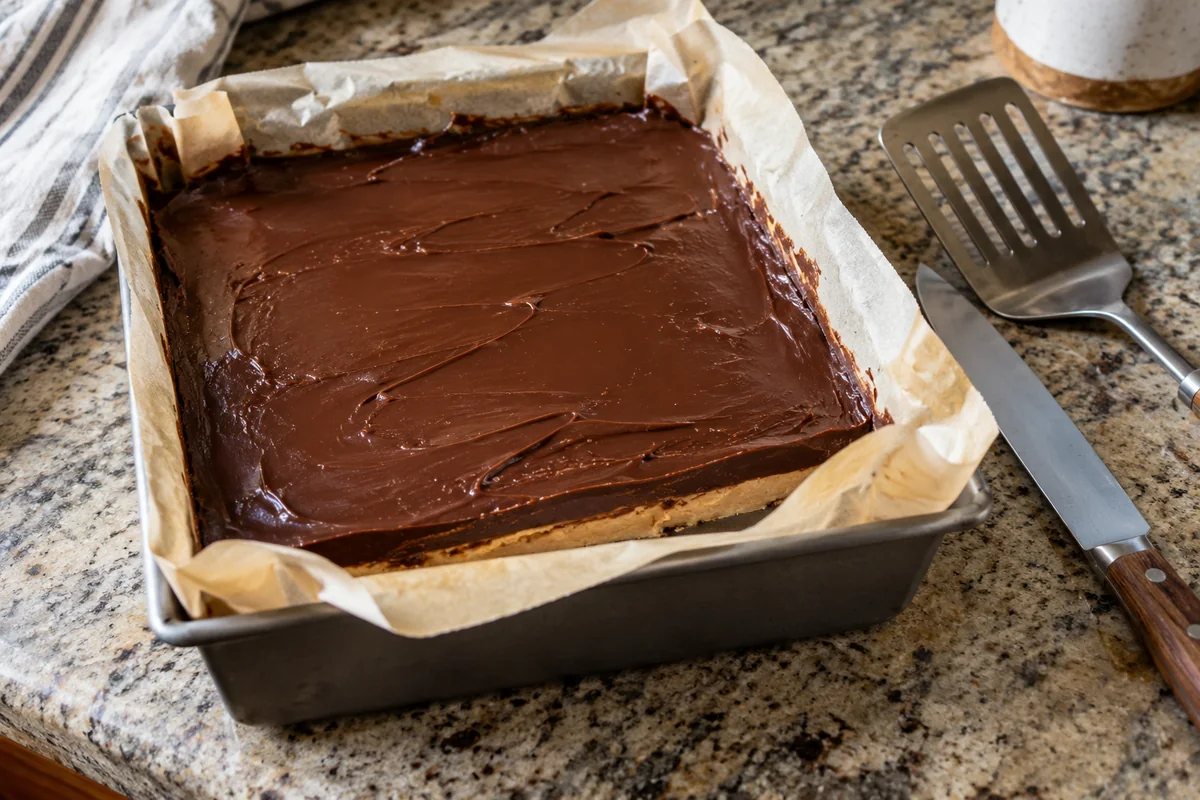
- Add the top layer. Spoon the chocolate over the peanut butter layer in dollops, then spread it carefully to the edges so the peanut butter is fully covered. Smooth the surface with the back of a spoon or an offset spatula.
- Chill until set. Refrigerate for 1 to 2 hours, until the fudge is firm all the way through.
- Lift and cut. Use the parchment overhang to lift the slab onto a cutting board. Run a sharp knife under hot water, wipe it dry, and cut the fudge into squares. Rewarm and wipe the knife as needed between cuts.
Tips for the Best Chocolate Peanut Butter Fudge
Melt Gently
Short microwave bursts and plenty of stirring give you a smooth mixture. Frosting and peanut butter both hold heat, so they keep softening for a moment after you stop. If in doubt, stir and let it sit before heating again.
Let Each Layer Firm Up
The brief chilling steps are what keep the layers distinct. If you spread the peanut butter onto a soft chocolate layer, the two will blend together. Fifteen minutes is usually enough, and the surface should feel set when you touch it lightly.
ADVERTISEMENT
Keep the Peanut Butter Layer Warm, Not Hot
Peanut butter that is too hot will melt into the chocolate underneath. Warm and spreadable is what you want.
Use a Warm, Clean Knife
A knife dipped in hot water and wiped dry glides through the fudge and leaves clean edges that show off the layers. Wiping the blade between cuts keeps the squares neat.
How to Serve Chocolate Peanut Butter Fudge
Serve the squares chilled or after sitting out for a few minutes, when the texture turns a little softer and creamier. They are a good fit for cookie platters, dessert tables, potlucks and gift boxes.
Variations
- Pinch of flaky salt: Sprinkle a small pinch of flaky salt over the top layer right after you spread it, before it sets. It adds a contrast to the sweetness.
- Crunchy center: Use crunchy peanut butter for the middle layer if you enjoy a little texture.
- Thinner fudge: Spread the layers in a 9×9-inch pan for thinner squares.
Storage
Refrigerator: Store the fudge in an airtight container in the refrigerator for up to 2 weeks. Place parchment between layers so the squares don’t stick together.
Room temperature: Because the fudge is soft, it holds its shape best when kept cold. Leave it out only for serving.
ADVERTISEMENT
Freezer: Wrap the cut squares well or place them in a freezer-safe container, separated by parchment, and freeze for up to 3 months. Thaw them in the refrigerator before serving.
Frequently Asked Questions
Why is my fudge too soft to cut?
Most often it just needs more time. Give it at least 2 hours in the refrigerator, or leave it overnight. Soft fudge can also come from overheating the frosting, using whipped frosting, or using a very runny peanut butter. If it stays soft, store it in the refrigerator and serve it as a spoonable treat or a cold dessert bar.
Can I use crunchy peanut butter instead of creamy?
Yes, especially for the center layer. The nuts add texture. The fudge will be a little harder to slice cleanly, so use a hot, wiped knife and cut with a gentle sawing motion.
Can I make this fudge without a microwave?
You can. Place the ingredients in a heatproof bowl over a saucepan of barely simmering water, making sure the bowl doesn’t touch the water, and stir until smooth. Do the chocolate mixture and the peanut butter in separate bowls, and keep the heat low.
Do the layers have to be perfectly neat?
Not at all. A slightly wavy middle layer still looks great when you cut the squares. If the layers blend a little at the edges, the fudge will taste just as good. Trimming the outer edges with a knife gives you cleaner squares for serving.
ADVERTISEMENT