ADVERTISEMENT
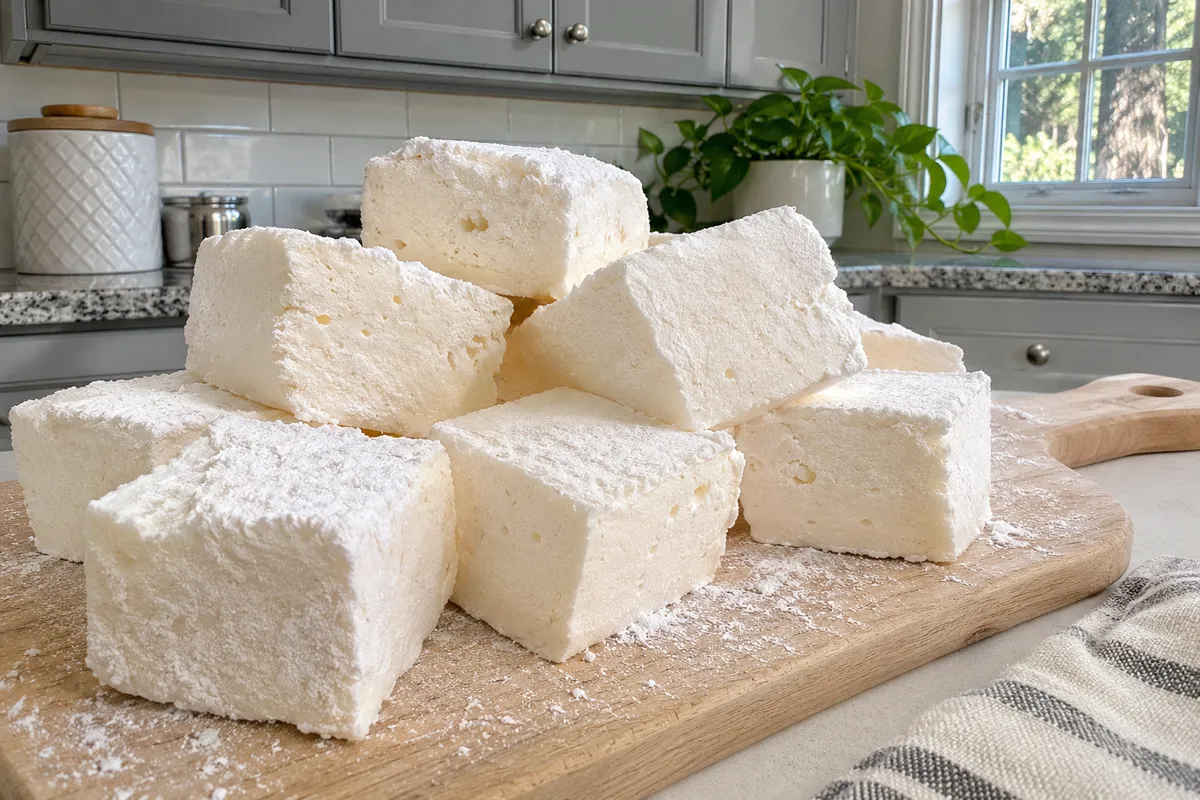
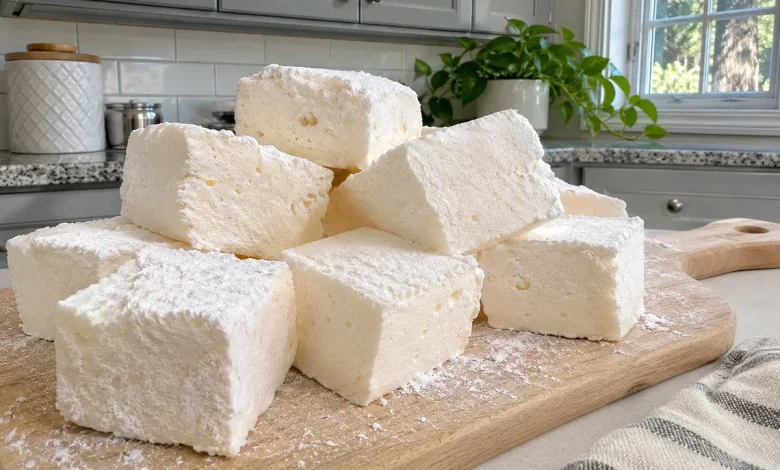
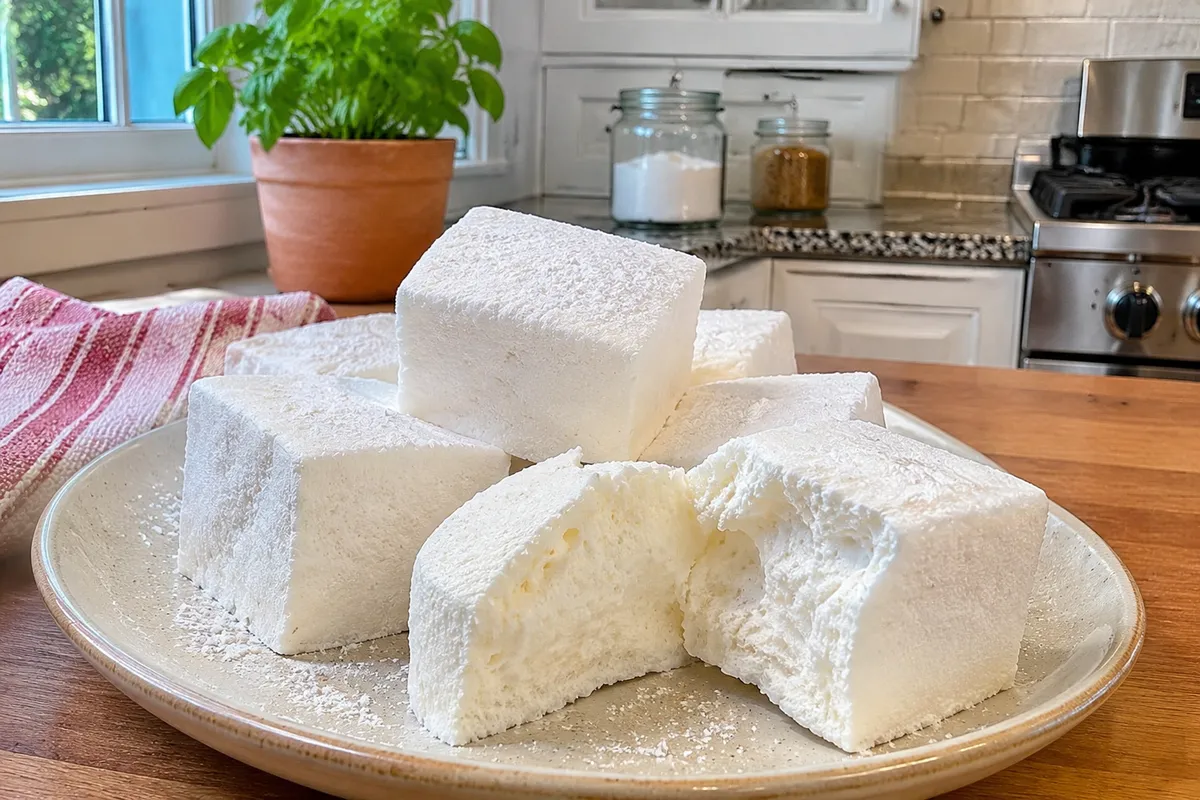
Homemade marshmallows are soft, springy cubes made from unflavored gelatin, sugar, water and a pinch of salt, then cut and tossed in a mix of powdered sugar and cornstarch. This version uses no corn syrup. The gelatin blooms in cold water while the sugar and water cook into a glossy syrup, and a mixer whips the two together until the mixture triples and turns thick.
Bloom the gelatin in 1/2 cup cold water in the mixer bowl. Cook the sugar, the remaining 1/2 cup water and the salt to 240°F, the soft-ball stage. Pour the hot syrup in slowly with the mixer on low, then whip on high for 10 to 12 minutes until the mixture is thick, glossy and tripled. Add vanilla if you like. Spread it in an 8×8 pan dusted with the powdered sugar and cornstarch mix, and let it set for 4 hours or overnight. Cut the slab and toss the cubes in the dusting so the sides stay dry and separate.
Why You’ll Love These Homemade Marshmallows
These homemade marshmallows rely on four simple ingredients and a dusting mix, with no corn syrup in the bowl. The texture is softer and more tender than the dry cubes that come in a bag, and the sifted coating keeps the pieces from sticking together in a tin.
Stir a cube into hot cocoa, toast a few over a low flame, or set a small bowl of them on a holiday platter. Watching the syrup to 240°F is the main point of care, and the rest is patience while the slab sets.
What Are Homemade Marshmallows?
Homemade marshmallows are a whipped confection made by combining bloomed gelatin with a cooked sugar syrup, then beating the mixture until it is thick, glossy and full of air. The mixture is spread in a pan, left to set, and cut into cubes. A sifted mix of powdered sugar and cornstarch coats every side so the pieces stay separate instead of clumping.
This recipe skips corn syrup and uses only sugar, water, unflavored gelatin and a pinch of salt in the base. A little vanilla is also optional. The finished cubes should feel springy, with a soft, slightly airy interior and a thin, dry coat on the outside.
ADVERTISEMENT
Ingredients for Homemade Marshmallows
- 1 cup cold water, divided
- 2 tablespoons unflavored gelatin powder
- 1 1/2 cups sugar
- Pinch of salt
- 1/4 cup powdered sugar
- 1/4 cup cornstarch
- 1 teaspoon vanilla extract, optional
Ingredient Notes
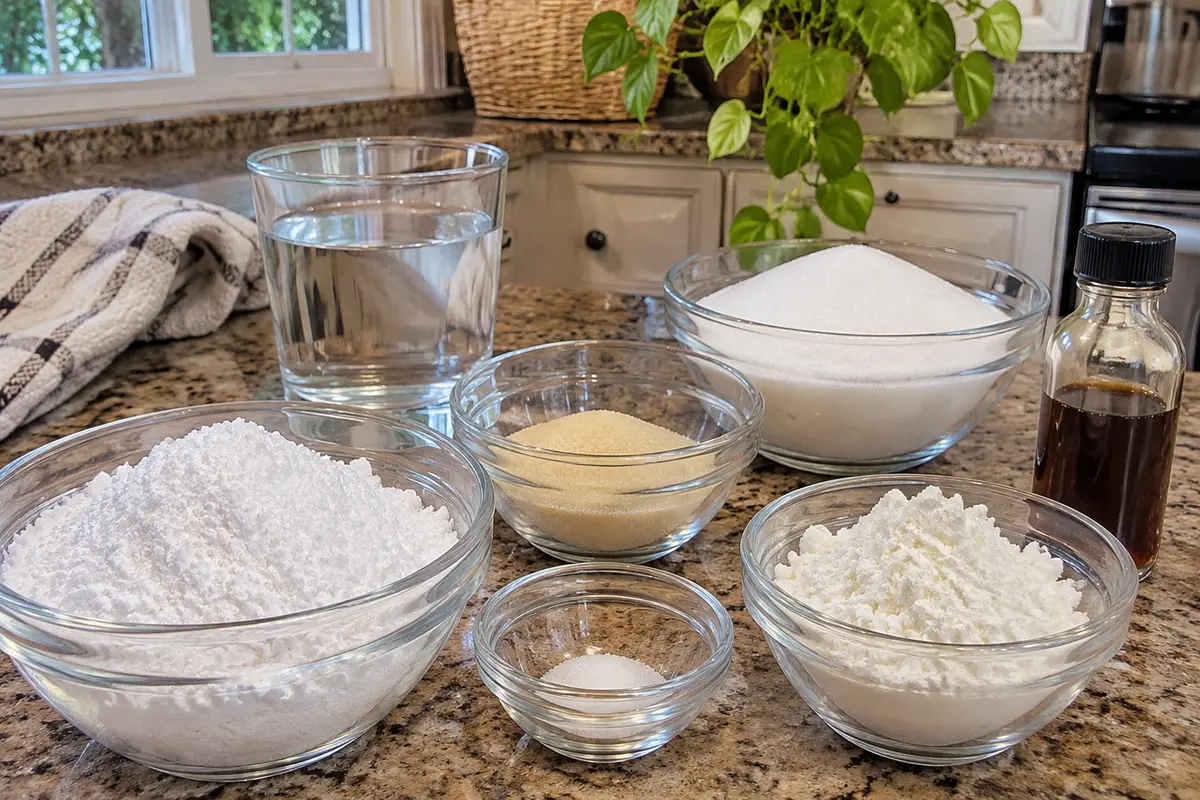
The water is split in half: 1/2 cup stays cold for blooming the gelatin, and the other 1/2 cup goes into the saucepan with the sugar and salt. Unflavored gelatin is what gives the marshmallows their set, so measure it carefully and let it bloom until the surface looks thick and even. A pinch of salt keeps the flavor from tasting flat.
Sift the powdered sugar and cornstarch together so there are no lumps, then use part of the mix to coat the pan and the rest to toss the cut cubes. Vanilla is optional, but a teaspoon at the end of whipping gives a gentle flavor. Have the pan ready before you start whipping, because the mixture thickens quickly.
How to Make Homemade Marshmallows
Stir the gelatin into 1/2 cup cold water in the mixer bowl and let it bloom while you cook the syrup. In a saucepan, combine the sugar, the remaining 1/2 cup water and the pinch of salt. Cook over medium heat, without stirring once the sugar has dissolved, until a candy thermometer reads 240°F, the soft-ball stage.
With the mixer on low, pour the hot syrup into the bloomed gelatin in a slow, steady stream, aiming down the side of the bowl. When all of the syrup is in, raise the speed to high and whip for 10 to 12 minutes, until the mixture is thick, glossy and has tripled in volume. It should hold a ribbon for a moment when the whisk is lifted. Beat in the vanilla, if you are using it, during the last few seconds.
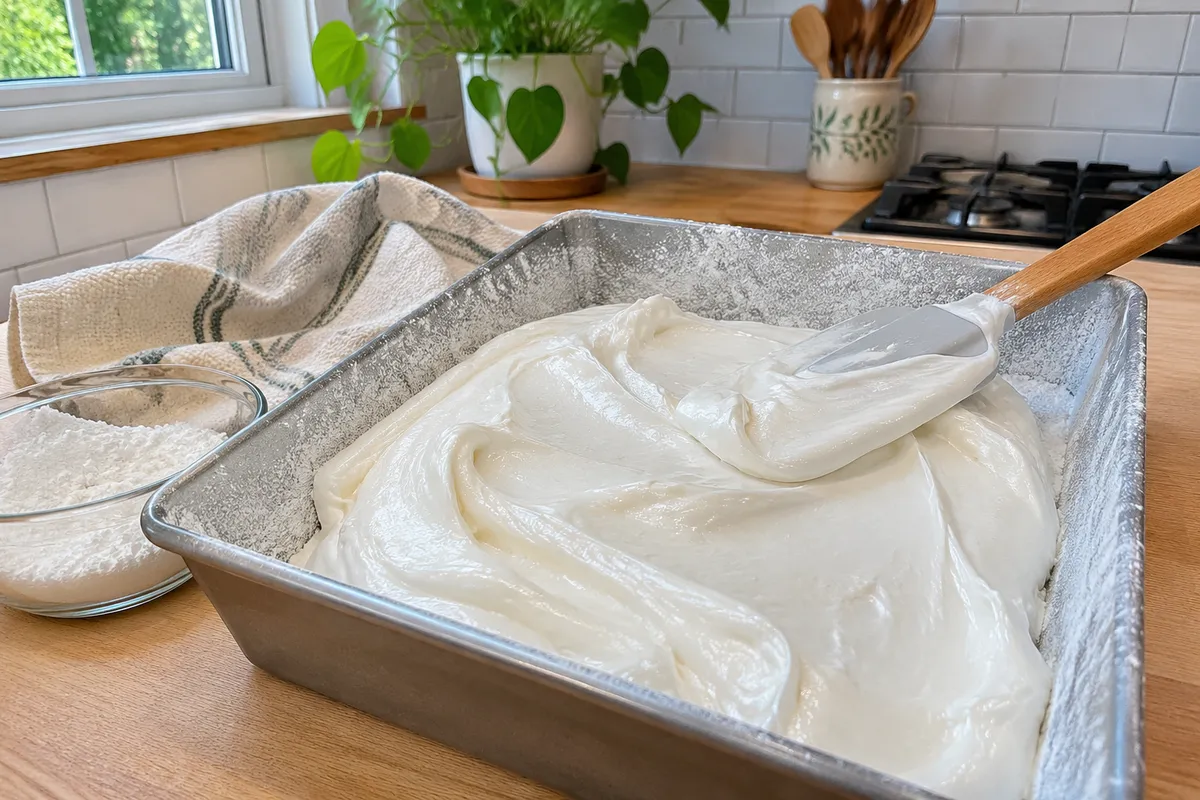
While the mixture is still warm and spreadable, scrape it into an 8×8 pan that has been thoroughly dusted with some of the powdered sugar and cornstarch mix. Smooth the top with a lightly greased spatula, then dust the surface with a little more of the mix. Let the pan sit at room temperature for at least 4 hours, or overnight, until the slab feels set and springy. Turn it out, cut it into cubes with a dusted knife, and toss every piece in the remaining dusting so all sides are coated.
ADVERTISEMENT
Tips for the Best Homemade Marshmallows
A candy thermometer is the most reliable way to hit the right syrup temperature. If the syrup is too cool when you pour it in, the marshmallows can turn mushy and may not set with a clean, springy bite. If it is too hot, they can set overly firm. Take the pan off the heat as soon as the syrup reaches 240°F.
Sift the dusting mix and be generous with it on the pan, the knife and the cubes, because a dry coat keeps the pieces from clinging to each other. Pour the syrup slowly with the mixer on low, then whip a full 10 to 12 minutes on high. Grease the spatula lightly, and work quickly once the mixture is thick, because it begins to set as it cools. Leave the slab alone for the full rest; four hours is the minimum, and overnight is even more dependable.
What to Serve With Homemade Marshmallows
These cubes are at home in a mug of hot cocoa, toasted over a low flame, or set out in a bowl on a dessert table. They also sit well on a holiday tray next to other sweets, as long as they are well coated.
For more sweets from the same kitchen, try this marshmallow creme fudge plus this fluffy marshmallow buttercream frosting too. These homemade peppermint patties and these soft Christmas peppermints are easy to set on the same platter as well. This chocolate peanut butter fudge adds another candy if you want a mixed tray.
Variations
Vanilla is the simplest change: add the optional teaspoon at the end of whipping, or leave it out for a cleaner sugar flavor. A few drops of peppermint extract can be used in place of vanilla if you want a cooler taste, but add it sparingly. You can also stir a spoonful of unsweetened cocoa into the dusting mix for a light chocolate coat on the outside.
ADVERTISEMENT
Cut the slab into small cubes or into longer rectangles, depending on how you plan to serve them. For toasting, slightly larger cubes hold up a little better on a skewer. Keep the same syrup temperature and the same whip, because those two steps are what give the marshmallows their set.
Storage
Let the cubes sit for a few minutes after they are tossed in the dusting, then store them in an airtight container at room temperature. A little extra powdered sugar and cornstarch in the container helps keep the sides dry. They hold well for several days; in humid weather they can start to feel sticky, so keep the lid closed and refresh the coat if needed.
You can freeze well-coated marshmallows in a tight container, then thaw them at room temperature and toss them again in a little of the dusting mix if the surface looks damp. For safe handling and storage, follow the FDA guide to safe food handling plus the USDA guide to leftovers and food safety too. Cool and set the slab completely before you cut and pack it.
FAQ
Why do I need a candy thermometer?
The syrup needs to reach 240°F, the soft-ball stage, so the marshmallows set with a soft, springy bite. A thermometer takes the guesswork out of that step.
Why are my marshmallows mushy or too firm?
Mushy marshmallows usually mean the syrup was too cool, or the mixture was not whipped long enough to thicken and triple. Marshmallows that feel too firm often come from a syrup that went past 240°F. Stay on 240°F and whip a full 10 to 12 minutes.
ADVERTISEMENT
How should I cut and coat homemade marshmallows?
Dust the knife and the work surface with the powdered sugar and cornstarch mix, then cut the slab into even cubes. Toss every piece in more of the mix so all sides are coated.
How should I store homemade marshmallows?
Keep them in an airtight container at room temperature, with a little extra dusting mix in the container. They are best within several days. If you freeze them, thaw at room temperature and toss them again in the mix if they feel slightly sticky.
Can I add vanilla or other flavors?
Yes. A teaspoon of vanilla at the end of whipping is the usual addition. A few drops of another extract can be used instead, but keep the amount small so the texture stays the same.