ADVERTISEMENT
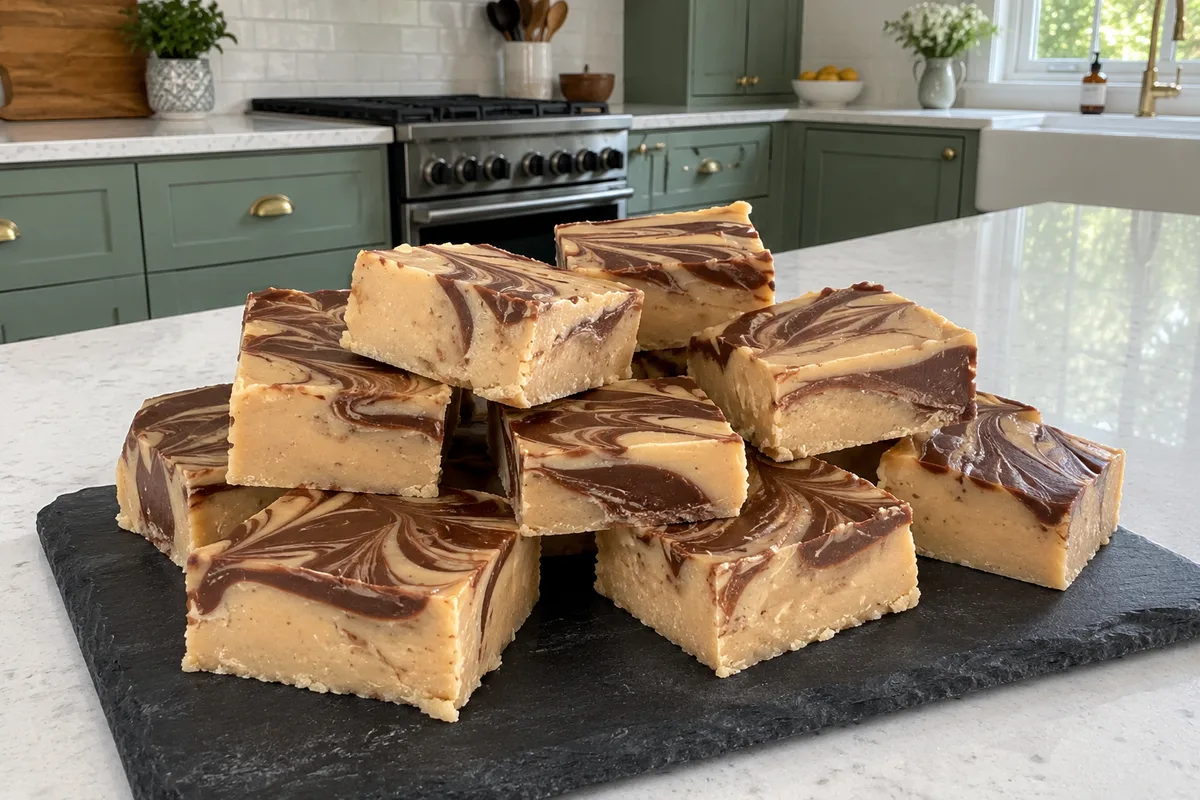
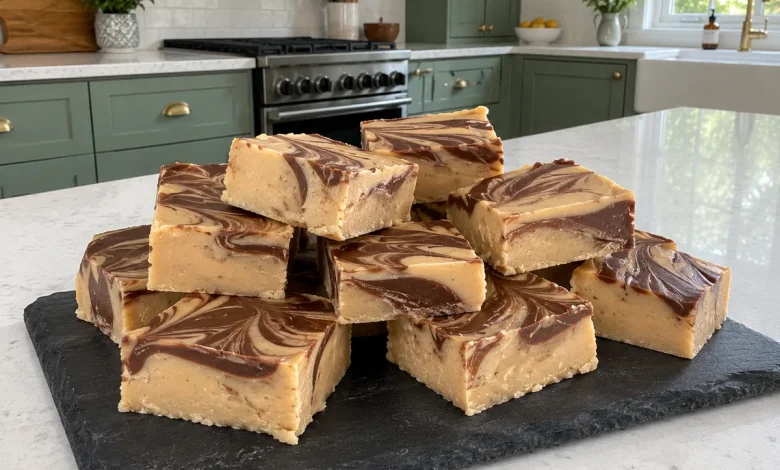
Tiger butter fudge is one of the easiest holiday candies you can make, and it always looks like it took far more effort than it did. A creamy layer of white chocolate and peanut butter gets swirled with ribbons of milk chocolate to create bold tiger stripes. This tiger butter fudge needs just 4 ingredients, about 5 minutes of hands-on time and no candy thermometer at all. Melt, spread, swirl and chill, and you have a tray of sweet, nutty squares ready for gift tins, cookie platters or an afternoon treat. If you love peanut butter candy, you will also enjoy our chocolate peanut butter fudge.
Why You’ll Like Tiger Butter Fudge
- Only 4 ingredients: white baking chips, creamy peanut butter, milk chocolate chips and a little vegetable oil.
- Fool-proof method: no boiling sugar, no thermometer and no guessing about soft ball stage.
- Five minutes of work: the microwave does most of the job, and the fridge does the rest.
- Stunning look: every square has its own marbled pattern, so the tray looks bakery-worthy.
- Great for gifting: it cuts cleanly, stacks well and keeps for days.
Classic fudge is traditionally cooked on the stove with sugar, butter and milk, but this shortcut version relies on melted chips that set firm as they cool. The result is smooth, rich and creamy, with a gentle peanut flavor in every bite.
Ingredients
- 4 cups white baking chips: they form the creamy, pale base. Use good quality chips that melt smoothly.
- 3/4 cup creamy peanut butter: a regular, well-stirred creamy peanut butter works best. Natural styles that separate can make the fudge oily.
- 3/4 cup milk chocolate chips: these create the dark stripes and add a classic chocolate flavor.
- 1 1/2 teaspoons vegetable oil: thins the melted chocolate so it pours and swirls easily.
Learn more about the sweet base in this guide to white chocolate, which explains why it melts at a lower temperature than dark or milk chocolate.

How to Make Tiger Butter Fudge
- Prepare the pan. Line a 9×13-inch pan with parchment paper, leaving some overhang on the sides so you can lift the fudge out later. For thicker squares, use an 8×8-inch pan instead.
- Melt the white layer. Place the white baking chips and peanut butter in a large microwave-safe bowl. Heat in 30-second bursts, stirring well after each one, until the mixture is completely smooth. This usually takes 1 1/2 to 2 1/2 minutes.
- Spread it out. Pour the peanut butter mixture into the lined pan and spread it into an even layer with a spatula.
- Melt the chocolate. In a small microwave-safe bowl, combine the milk chocolate chips and vegetable oil. Heat in 30-second bursts, stirring each time, until glossy and smooth.
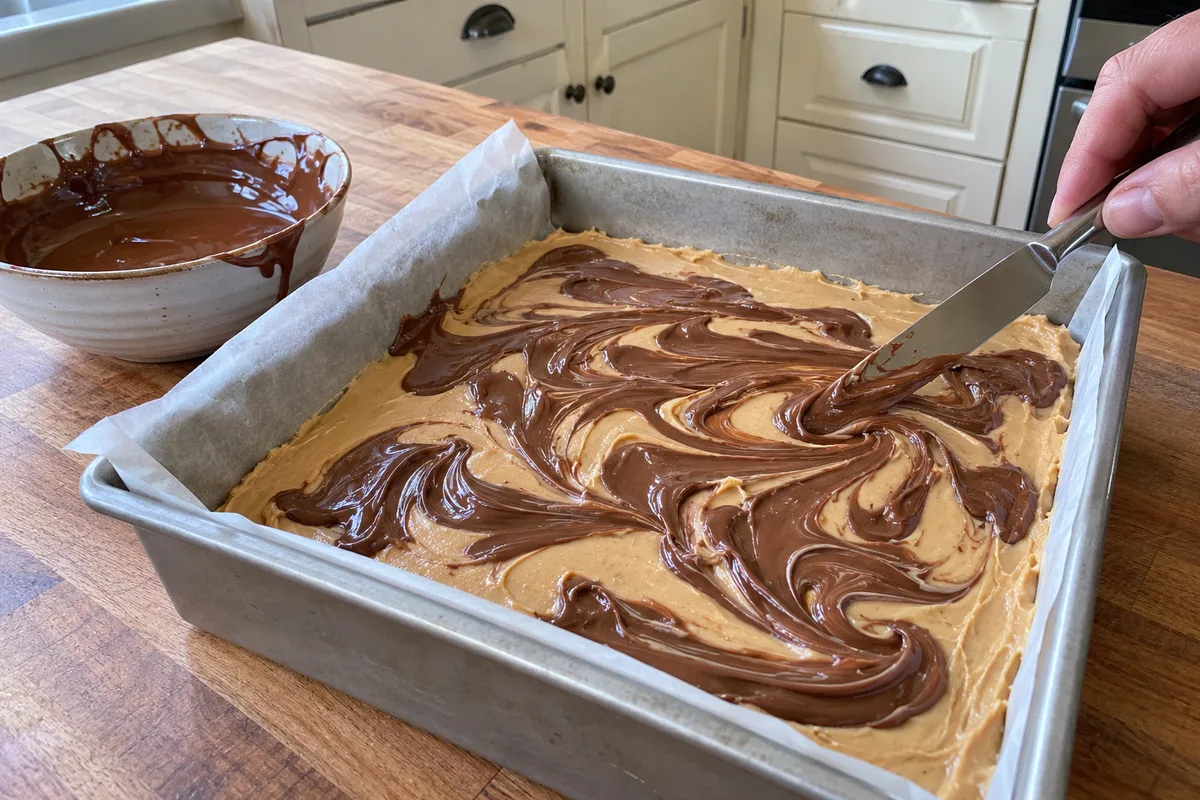
- Add the stripes. Drizzle or pour the melted chocolate over the white layer in lines or puddles.
- Swirl. Drag a butter knife or skewer through both layers in long strokes to create tiger stripes. Do not over-mix, or the colors will blend into one shade.
- Chill. Refrigerate for about 2 hours, until the fudge is completely firm.
- Cut and serve. Lift the fudge out using the parchment, let it sit for 5 minutes, then cut into squares with a large sharp knife.
Tips for the Best Tiger Butter Fudge
- Go slow in the microwave: white chips scorch easily. Short bursts and plenty of stirring keep them silky.
- Keep water away: even a drop of water can make melted chocolate seize and turn stiff.
- Swirl right away: the white layer starts setting quickly, so add the chocolate and swirl while both are still warm.
- Use a warm knife: dip your knife in hot water and wipe it dry between cuts for clean edges.
- Room temperature peanut butter: cold peanut butter can make the mixture lumpy.
Variations
- Crunchy tiger fudge: swap in crunchy peanut butter for little bits of peanut in every bite.
- Dark stripes: use semi-sweet or dark chocolate chips for a deeper color and less sweetness.
- Salty finish: sprinkle flaky sea salt or chopped roasted peanuts over the top before chilling.
- Holiday version: scatter festive sprinkles over the swirl for Christmas trays.
- Other nut butters: almond or cashew butter work too and give a milder flavor. For more about peanut products, visit the National Peanut Board.
Looking for more easy treats? Try our peanut butter balls or the cool and creamy homemade peppermint patties.
Storage
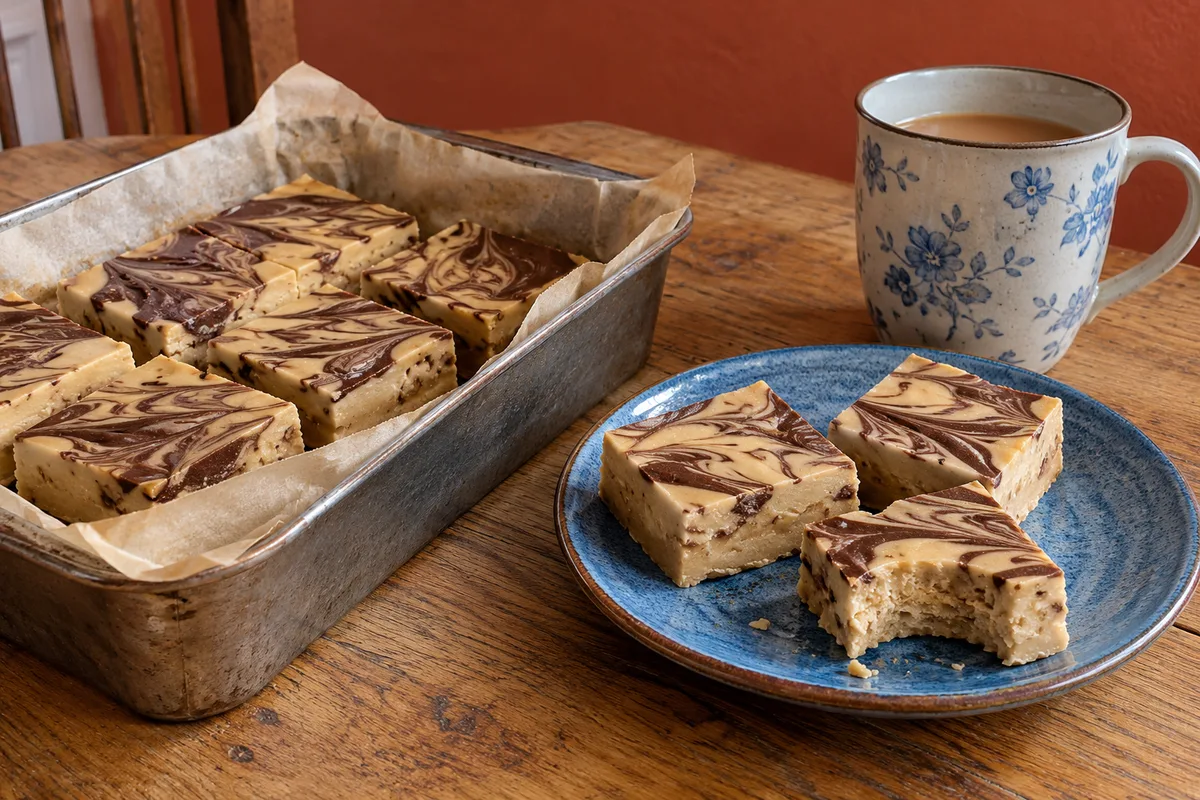
Store tiger butter fudge in an airtight container in the refrigerator for up to 2 weeks. Place parchment between layers so the squares do not stick together. You can serve it straight from the fridge for a firm bite, or let it sit at room temperature for 10 minutes for a softer, creamier texture.
To freeze, wrap the uncut slab or individual squares tightly and place them in a freezer bag. Freeze for up to 3 months and thaw overnight in the refrigerator before serving.
ADVERTISEMENT
Frequently Asked Questions
Why is it called tiger butter fudge?
The name comes from the striped look. The pale peanut butter layer swirled with milk chocolate resembles a tiger’s coat, and the peanut butter gives the “butter” part of the name.
Can I make tiger butter fudge on the stove?
Yes. Melt the white chips and peanut butter in a heatproof bowl set over a pan of barely simmering water, stirring until smooth. Do the same with the chocolate and oil. Keep the heat low so nothing scorches.
Why did my fudge turn out oily or soft?
Natural peanut butter that separates can leave an oily layer, and too little chilling time keeps the fudge soft. Use a regular creamy peanut butter and give the fudge the full 2 hours in the fridge.
Can I double the recipe?
Absolutely. Double every ingredient and use two pans, or check out our double batch peanut butter fudge for a big holiday tray.
Tiger butter fudge proves that a show-stopping candy can be quick and simple. Make a batch for your next cookie swap, pack it into gift boxes, or keep a few squares in the fridge for a sweet treat any day of the week.
ADVERTISEMENT




One Comment