ADVERTISEMENT

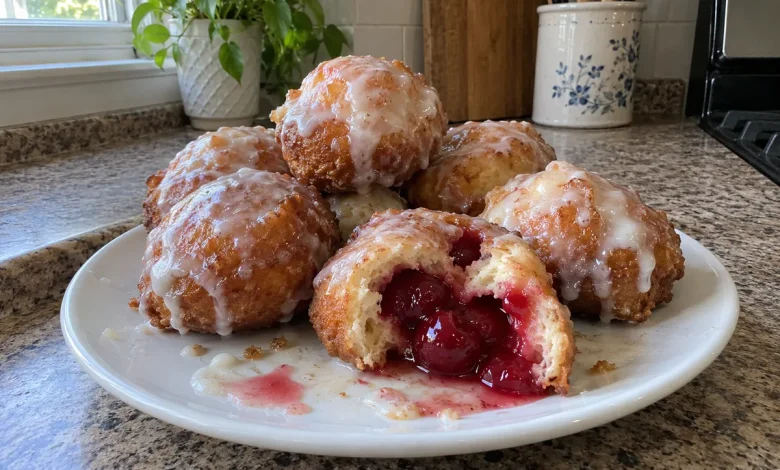
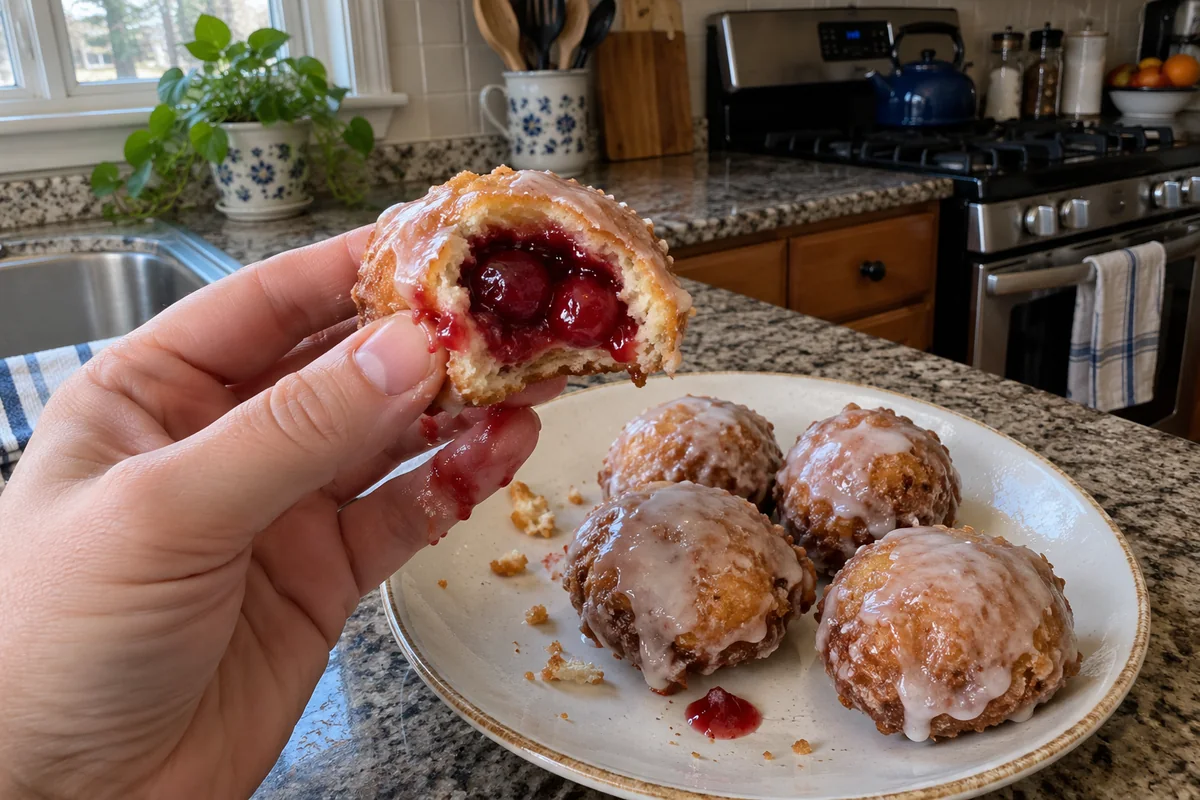
These cherry pie bombs are fried biscuit dough pockets filled with cherry pie filling, then dipped in a sweet glaze while still warm. Each jumbo flaky biscuit is flattened, stuffed, sealed and fried until golden, so you get a crisp outside and a gooey cherry center without baking a whole pie. They are clearly a fried, glazed treat—not a baked pastry bite.
Why You’ll Like These Cherry Pie Bombs
Refrigerated biscuit dough cuts the prep down to filling and frying. Cherry pie filling brings ready-made fruit and syrup, and a quick powdered sugar glaze sets into a shiny coat. The batch makes eight bombs, enough for a dessert plate or a weekend snack board.
- Fast assembly: flatten, fill, pinch and fry.
- Pie flavor, small package: cherry filling in every bite.
- Glazed finish: a simple milk and powdered sugar dip while warm.
Ingredients for Cherry Pie Bombs
- Vegetable oil, for frying
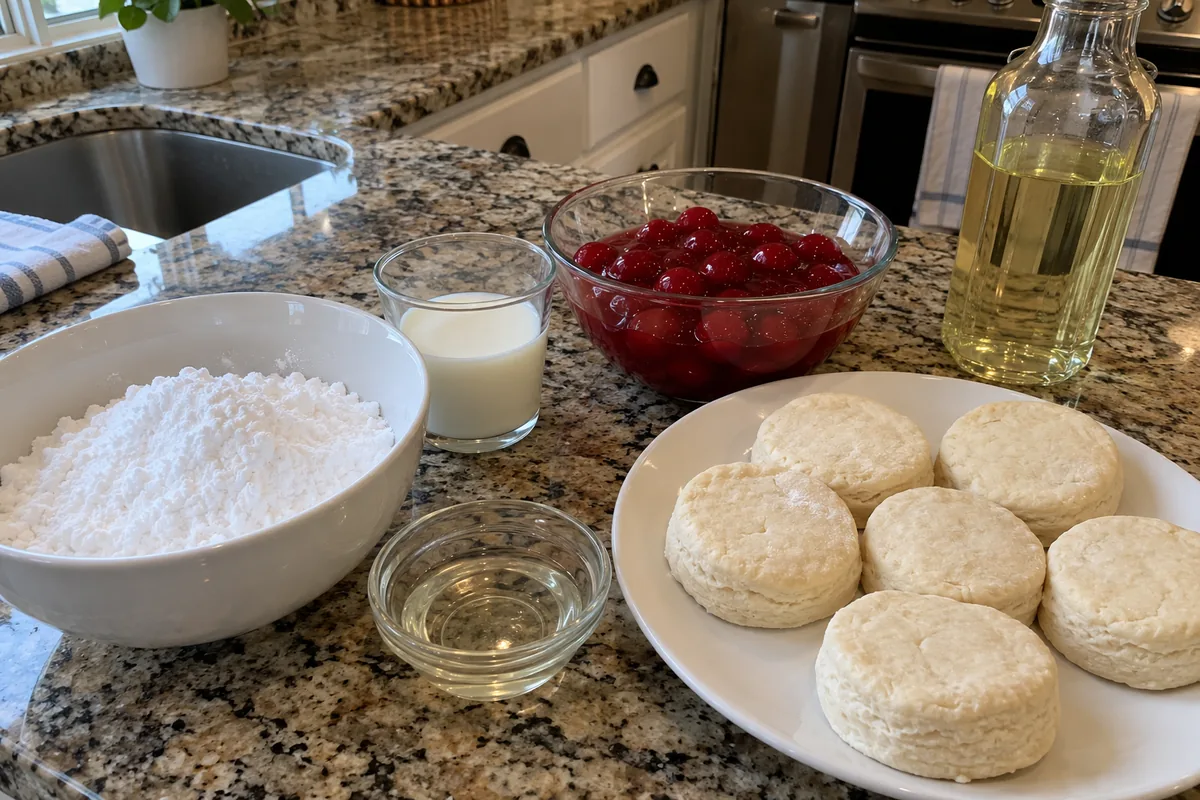
- 1 can (16.3 oz) refrigerated jumbo flaky biscuits (8 biscuits)
- 1 can (21 oz) cherry pie filling
- 2 cups powdered sugar
- 1/4 cup milk
- 1 Tbsp light corn syrup
You will need a deep heavy pot or Dutch oven, a slotted spoon, a rolling pin or your hands for flattening, and a wire rack or paper towel-lined plate. Makes 8 cherry pie bombs.
Ingredient Notes
The biscuits: Use refrigerated jumbo flaky biscuits, the kind that pull apart in layers. Regular small biscuits are harder to fill and seal. Keep them cold until you work so the dough stays easier to handle.
ADVERTISEMENT
The cherry pie filling: Canned cherry pie filling is thick enough to stay inside if you do not overfill. Spoon out mostly cherries with a little syrup; too much loose syrup makes sealing messy.
The glaze: Powdered sugar, milk and a spoonful of light corn syrup make a dip that clings and stays glossy. Corn syrup is optional for shine, but it helps the glaze set smoothly.
The oil: A neutral vegetable oil at a steady 350°F fries the dough without burning the outside before the center heats through.
How to Make Cherry Pie Bombs
Step by Step
- Heat the oil. Pour 2 to 3 inches of vegetable oil into a deep heavy pot. Heat to 350°F over medium heat. Set a wire rack over a baking sheet or line a plate with paper towels.
- Flatten the biscuits. Separate the 8 biscuits. On a lightly floured surface, flatten each one into a round about 1/4 inch thick, roughly 4 inches across.
- Fill and seal. Spoon about 1 to 2 tablespoons of cherry pie filling into the center of each round. Pull the edges up and over the filling, pinch firmly to seal, then roll gently between your hands into a smooth ball. Make sure there are no gaps or the filling will leak in the oil.
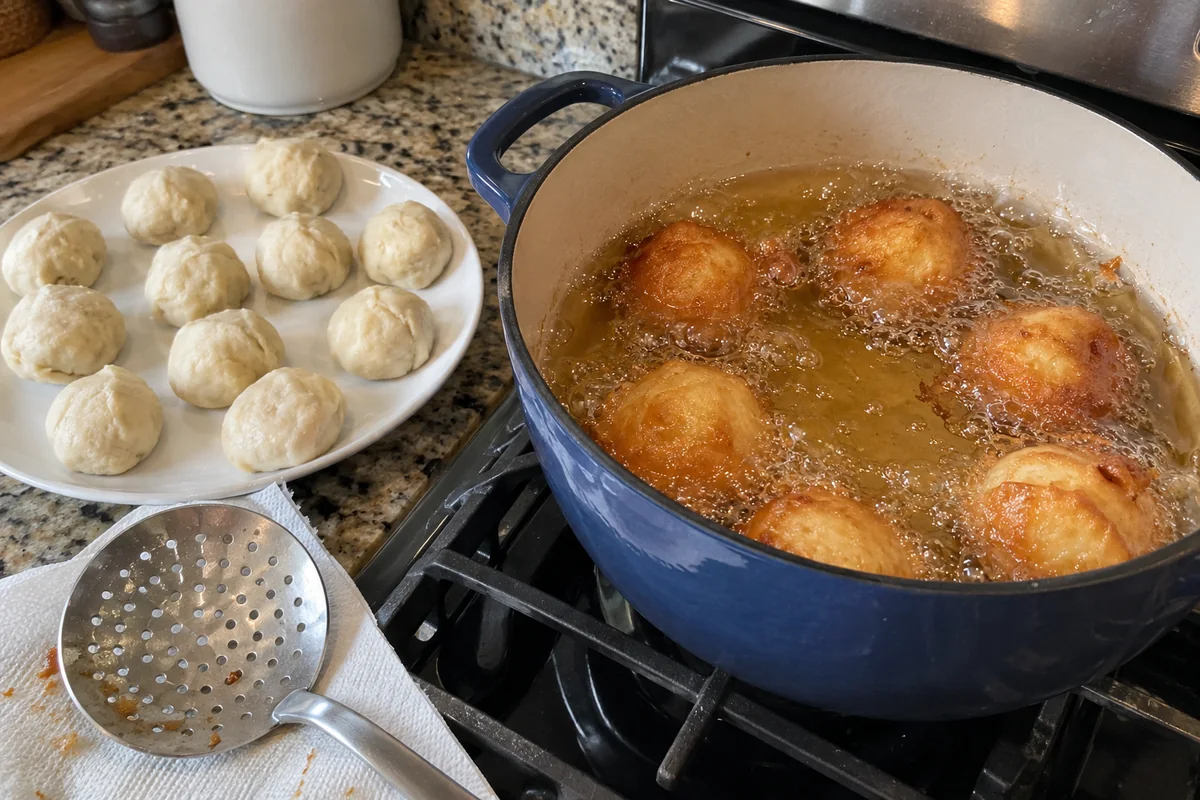
- Fry. Working in batches of 2 or 3, fry the bombs at 350°F for about 1 1/2 to 2 minutes per side, turning once, until deep golden brown all over. Do not crowd the pot.
- Drain. Lift out with a slotted spoon and drain on the rack or paper towels. Check the oil temperature between batches and bring it back to 350°F as needed.
- Make the glaze. Whisk the powdered sugar, milk and light corn syrup in a bowl until smooth. Add a few drops more milk if it is too thick to dip.
- Glaze. While the bombs are still warm, dip each one in the glaze or spoon the glaze over the tops. Let the excess drip off, then set back on the rack so the glaze can set. Serve warm or at room temperature.
Tips for the Best Cherry Pie Bombs
Seal Tightly
Pinch seams well and roll into a ball so no cherry syrup is exposed. Any opening will spit filling into the hot oil.
ADVERTISEMENT
Do Not Overfill
One to two tablespoons is enough. Extra filling makes sealing harder and increases blowouts while frying.
Hold 350°F
Cooler oil makes greasy dough. Hotter oil browns the outside before the biscuit cooks through. A thermometer helps a lot.
Fry in Small Batches
Too many bombs drop the oil temperature. Give each one space to turn and brown evenly.
Glaze While Warm
Warm fried dough helps the glaze cling in a thin, even coat. If they cool completely, the glaze sits more thickly and can slide off.
Variations
- Other pie fillings: apple, blueberry or peach pie filling work the same way.
- Cinnamon sugar: skip the glaze and toss warm bombs in cinnamon sugar.
- Cream cheese add-in: put a small dab of sweetened cream cheese under the cherry filling before sealing.
- Thicker glaze: use less milk for a frosting-like coat you can spoon on.
- Air fryer option: brush sealed bombs with oil and air fry at about 350°F until golden, turning once; texture will be less deep-fried but still good. Glaze after.
- Mini bombs: split each biscuit in half for smaller bites and use about 1 tablespoon filling; shorten the fry time slightly.
ADVERTISEMENT
Storage
Best fresh: Cherry pie bombs are crispest the day they are fried.
Room temperature: Keep glazed leftovers loosely covered for up to 1 day. The coating softens as they sit.
Reheating: Warm on a baking sheet at 325°F for 8 to 10 minutes. Add a little fresh glaze after reheating if you want them shiny again.
Make-ahead: Fill and seal the bombs up to a few hours ahead, keep them covered in the refrigerator, then fry and glaze just before serving.
Frequently Asked Questions
Are these the same as baked cherry pie bites?
No. These cherry pie bombs are sealed biscuit dough fried in oil and dipped in glaze. Baked versions are a different texture and method.
ADVERTISEMENT
Why did my bombs open in the oil?
The seal was probably weak or they were overfilled. Pinch firmly, roll into a smooth ball, and keep the filling to 1 or 2 tablespoons.
Can I bake them instead of frying?
You can bake sealed bombs on a sheet pan at about 375°F until golden, but they will not taste the same as the fried glazed version this recipe is written for.
How do I keep the glaze from being too runny?
Add the milk gradually. Start with a little less than 1/4 cup and whisk in more only until the glaze is thick enough to coat a spoon and cling to the warm dough.