
ADVERTISEMENT

Citrus and pine candles are one of those small projects that make a whole room smell like the holidays. You pour soft wax into hollowed orange halves or little glass jars, tuck in cinnamon, cloves and evergreen, and you end up with something fragrant, pretty and genuinely handmade. They are simple, they are quick, and the orange-peel ones are gone when the wax is done, which is part of the charm.
This guide walks through the whole thing: what to buy, how to hollow an orange, how to melt wax safely, how to place your decorations so they look good without becoming a hazard, and what to do when something goes sideways.
What You’ll Need
As a rough guide, 1 lb (about 450 g) of wax fills around 4 small jars (roughly 4 oz each) or about 6 orange halves. Mix and match as you like.
- Wax: 1 lb soy wax flakes or beeswax pastilles
- Wicks: 6 pre-waxed cotton wicks with metal tabs (a few spares are helpful)
- Containers: 3 medium oranges (6 halves) and/or 4 small heat-safe glass jars
- Spices: 4 to 6 cinnamon sticks, a small handful of whole cloves, 1 or 2 star anise if you like
- Greenery: a few small pinecones and short sprigs of rosemary or cedar
Tools
- A heat-safe pouring pitcher or measuring jug with a spout
- A saucepan and water for a double boiler, plus a spoon, small knife and baking tray
- A wax or candy thermometer
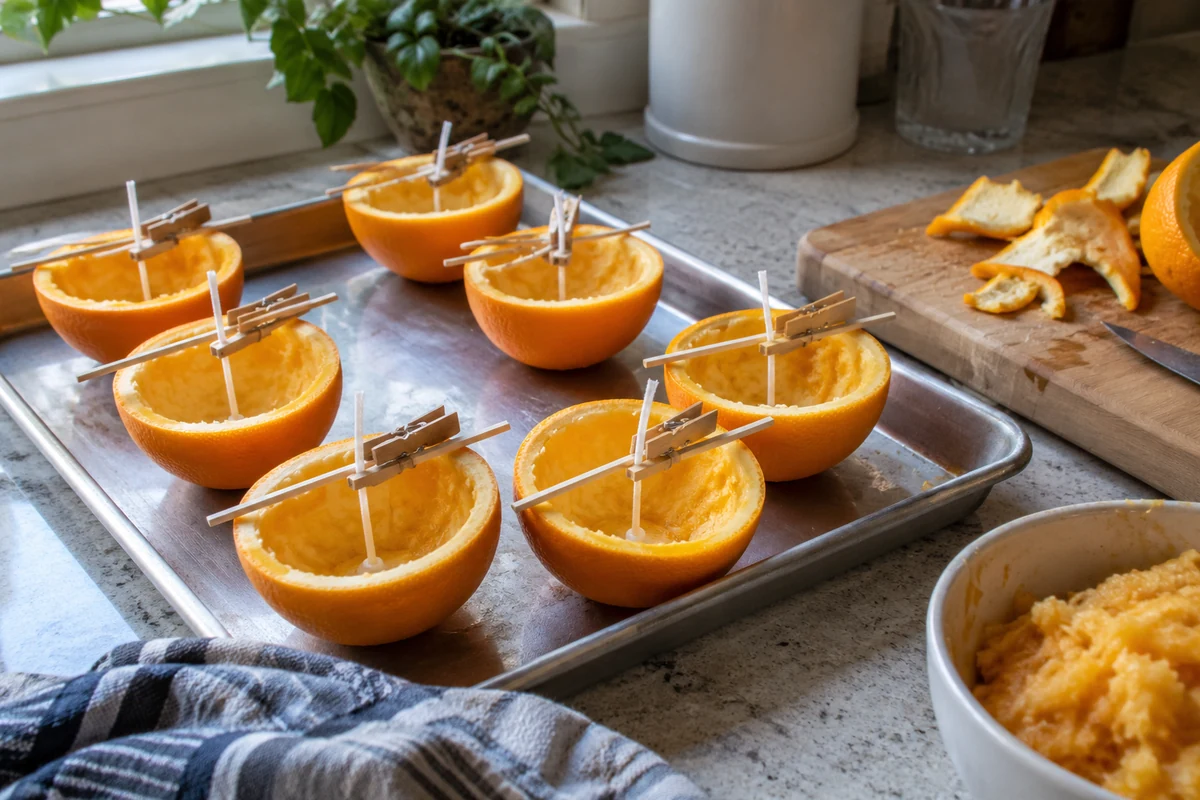
- Clothespins, skewers or chopsticks for holding wicks
How to Hollow Out the Oranges
Orange halves make a lovely natural container, but they need a little care before they hold wax.
- Cut each orange in half across the middle, not through the stem end, so each half sits flat and steady.
- Scoop out the pulp with a spoon, working slowly around the edges so you do not tear the peel. Leave the shell intact.
- Keep a little of the center pith. The small white column in the middle makes a handy natural wick holder. If it comes out, that is fine, you will use a wick tab instead.
- Rinse and dry the shell. Wipe out any juice, then pat it dry with a towel. Let the halves air-dry for an hour or so. Wax sticks better to a dry surface, and a juicy peel will leave water at the bottom.
- Trim the base if needed. If a half wobbles, slice a very thin piece off the bottom so it stands level. Do not cut so deep that you make a hole.
Melting the Wax Safely
Wax is not something to rush. Always melt it gently and never over direct heat.
ADVERTISEMENT
- Put your wax in a heat-safe pitcher and stand it in a saucepan with a couple of inches of simmering water. This is your double boiler.
- Stir now and then until the wax is completely melted and clear.
- Clip your thermometer to the pitcher. Remove it from the heat when the wax is around 170 to 185°F (77 to 85°C).
- Let it cool for a minute or two so it is not blazing hot when you pour. A slightly cooler pour is gentler on the orange peel and glass jars.
Stay in the kitchen the entire time the wax is melting. Wax can overheat quickly, and it should never be left unattended on the stove.
Setting and Centering the Wicks
Before you pour anything, get the wicks in place.
- In jars: Press the metal tab to the center of the bottom with a dab of melted wax. Let it set for a moment.
- In orange halves: Push the wick tab down into the center pith, or stick it to the bottom with a dab of wax the same way.
- To hold the wick upright: Lay a clothespin or skewer across the rim and clamp or wrap the top of the wick so it stands straight and centered. A wick that leans will burn unevenly.
Pouring the Wax
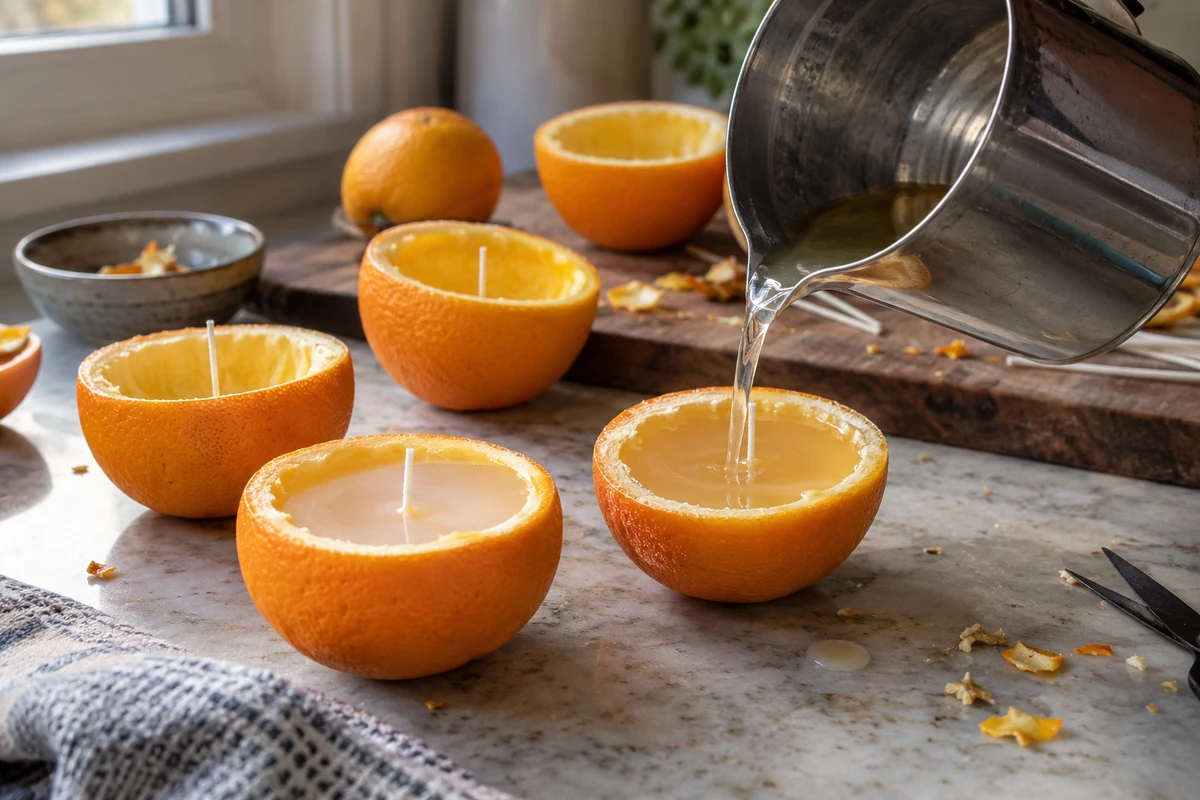
Pour slowly and steadily, aiming for the center. Fill jars to about half an inch below the rim. Fill orange halves to just below the edge of the peel. Wax shrinks as it cools, so keep a spoonful or two warm to top off later.
ADVERTISEMENT
Adding the Cinnamon, Cloves and Greenery
This is the fun part, and also where a bit of caution matters. Wait until the wax has just started to thicken and a skin is forming on top. Then press your decorations in gently.
- Place cinnamon sticks and pinecones toward the outer edge, standing or leaning them against the side.
- Press whole cloves into the surface in a ring or pattern, well away from the wick.
- Tuck rosemary or cedar sprigs around the edge or lay them flat on the surface, trimmed short.
- Keep every decoration at least an inch away from the wick, and keep the top of the wick clear.
Dried botanicals can catch fire. They are for looks, not for burning, so be generous at the edges and sparing near the middle.
Let It Cool Completely
Leave the candles somewhere flat and undisturbed for several hours, or overnight if you can. When the wax is fully firm, trim each wick to about ¼ inch (6 mm). A shorter wick gives a smaller, steadier flame.
Candle Safety
Handmade candles are lovely, but they are real flames. Please take these seriously.
ADVERTISEMENT
- Never leave a burning candle unattended. Blow it out when you leave the room or go to bed.
- Burn for short sessions. An hour or two at a time is plenty, especially for orange-peel candles.
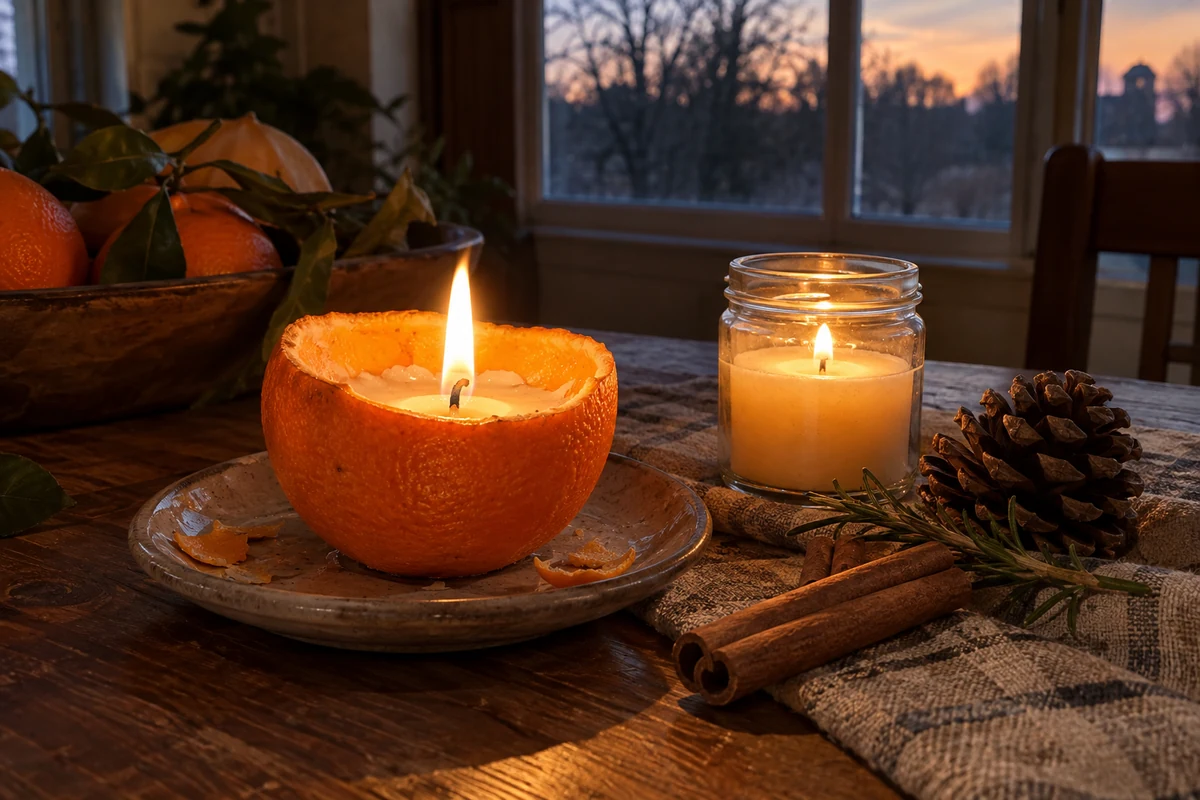
- Use a heat-safe surface. Place candles on a ceramic plate or tray, on a flat, stable table.
- Keep decorations away from the flame. Dried spices and greenery can burn. Remove any that drift toward the wick.
- Keep away from children, pets, curtains and anything flammable.
- Stop when the wax is nearly gone. Do not burn the last half inch (about 1 cm). The peel or the jar base can get very hot.
- Let candles cool fully before moving or relighting them.
Gift Ideas
- Set two jar candles in a small wooden box with a bundle of cinnamon sticks.
- Wrap a single jar in kraft paper and tie it with twine and a sprig of cedar.
- Make a set of three orange halves on a small tray as a table centerpiece for a dinner or holiday party.
- Add a handwritten card with the burn instructions and safety tips, so the receiver knows how to enjoy it.
Troubleshooting
The wax has a sinkhole or dip in the middle
This is normal as wax shrinks. Reheat your leftover wax and top off the candle once the first pour has cooled, filling just to the previous level.
The wick keeps drowning or won’t stay lit
The wick may be too thin for the container, or buried under wax or decor. Use a thicker wick and keep the top clear.
The orange leaks or turns soft
The shell was probably still damp or cut too thin. Dry the peel well and handle gently. Use the candle soon after it sets.
Storing Your Candles
Keep jar candles in a cool, dry place out of direct sunlight, with the lid on if they have one. Orange-peel candles are best used within a few days, as the peel will dry and shrink over time. Store them on a tray away from heat.
Frequently Asked Questions
Can I reuse an orange-peel candle?
No. Orange-peel candles are single-use. Once the wax is spent, compost the peel and make a new one. Jar candles, on the other hand, can be cleaned and refilled.
ADVERTISEMENT
Is soy wax or beeswax better?
Both work well. Soy wax is soft and melts easily, while beeswax is firmer and has a gentle natural honey scent. Choose whichever you prefer.
Can I add essential oil?
You can, in small amounts, stirred in just after you take the wax off the heat. The orange peel, cinnamon and pine already smell wonderful, so many people leave it plain.
How long does one candle burn?
It depends on the size of the container and wick. Small candles like these are meant for short, relaxed evenings, not all-day burning.