ADVERTISEMENT
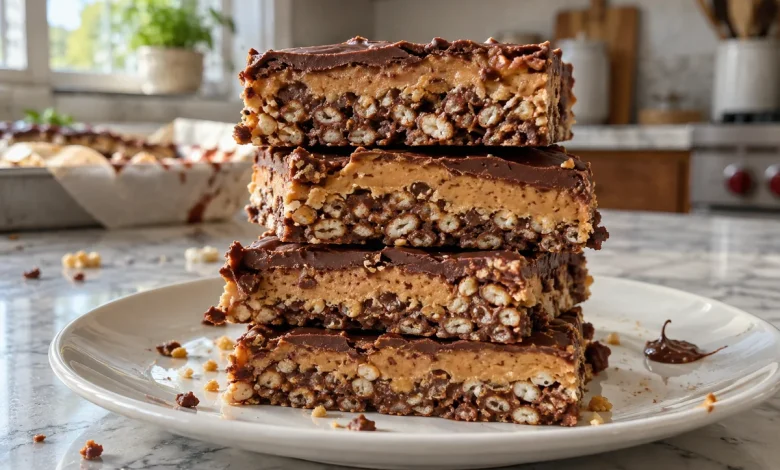
These homemade crunch bars are what you get when a candy-aisle craving meets a pantry with almost nothing in it. Three ingredients, one bowl, no oven. You melt chocolate chips with peanut butter, fold in crispy rice cereal, press it all into a pan, and let the fridge do the rest. They are easier than a trip to the store and they taste much better than store-bought, with real chocolate, a hint of peanut butter, and a snap that holds up.
Why Homemade Crunch Bars Work So Well
The peanut butter does two jobs here. It softens the chocolate just enough that the bars bite cleanly instead of shattering, and it adds a roasted, salty depth that plain melted chocolate lacks. The cereal brings the crunch, and because it is coated rather than drowned, every bite has texture.
Very little can go wrong. No candy thermometer, no tempering. If you can stir, you can make these.
Ingredients
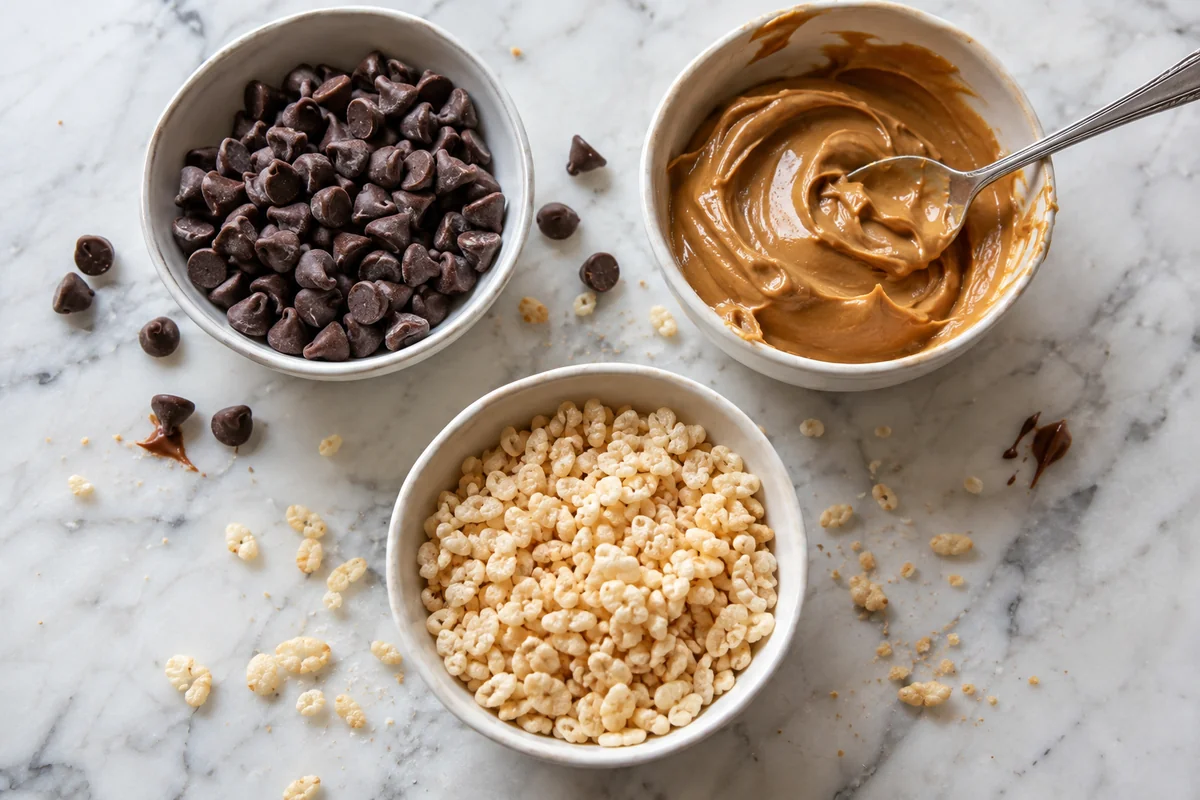
- 1 1/2 cups chocolate chips (semi-sweet, milk, or dark)
- 1/3 cup peanut butter (smooth, creamy style melts best)
- 1 cup crispy rice cereal
How to Make Homemade Crunch Bars
- Line the pan. Cut a piece of parchment paper and press it into the pan so it covers the bottom and hangs over the two long sides. Those flaps become handles later.
- Melt the chocolate and peanut butter. Put the chocolate chips and peanut butter in a microwave-safe bowl. Heat on 50% power for 30 seconds, stir, then keep going in 15-second bursts, stirring each time, until the mixture is smooth and glossy. Prefer the stovetop? Melt both in a saucepan over the lowest heat, stirring constantly.
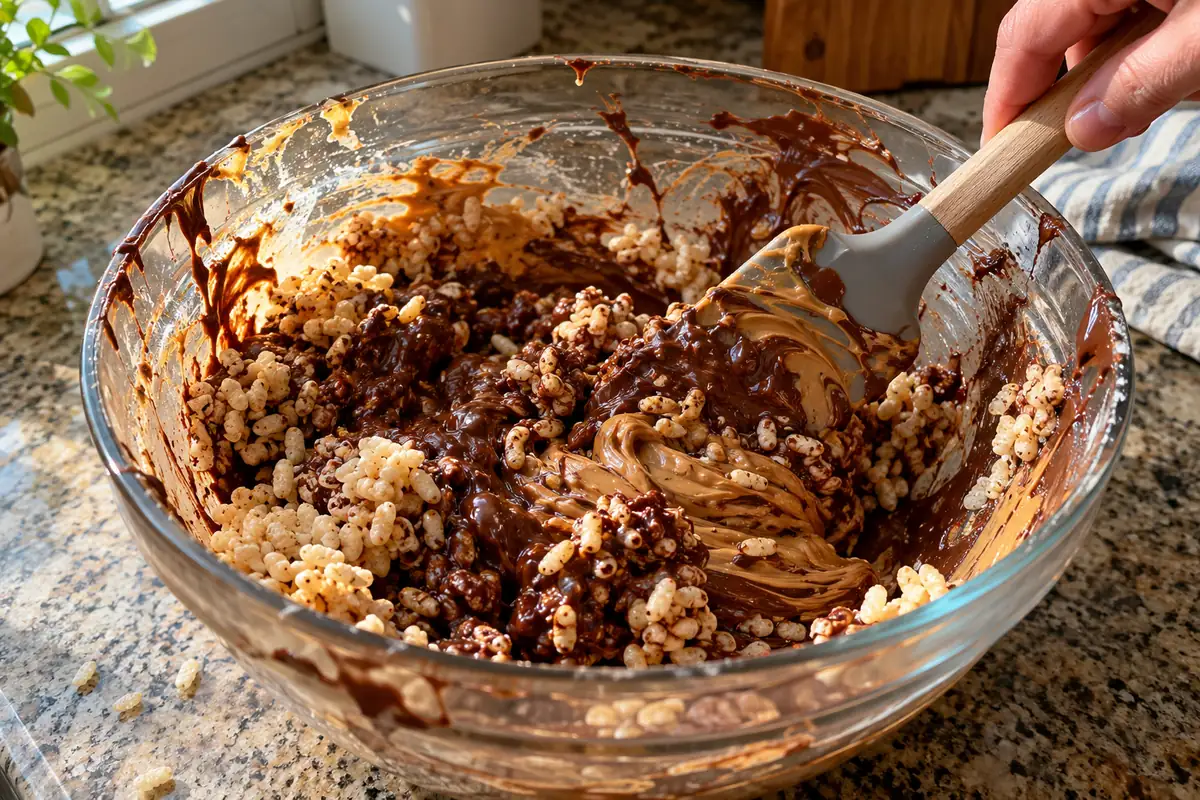
- Stir in the cereal. Pour in the crispy rice cereal and fold gently with a spatula, scraping the bottom of the bowl, until every piece is coated. Go easy so you don’t crush the cereal into dust.
ADVERTISEMENT
- Press into the pan. Scrape the mixture into the lined pan. Use the back of the spatula, or a piece of parchment over the top, to press it down firmly and evenly into the corners. Firm pressing is what keeps the bars from crumbling.
- Chill. Refrigerate for about 1 hour, until completely firm.
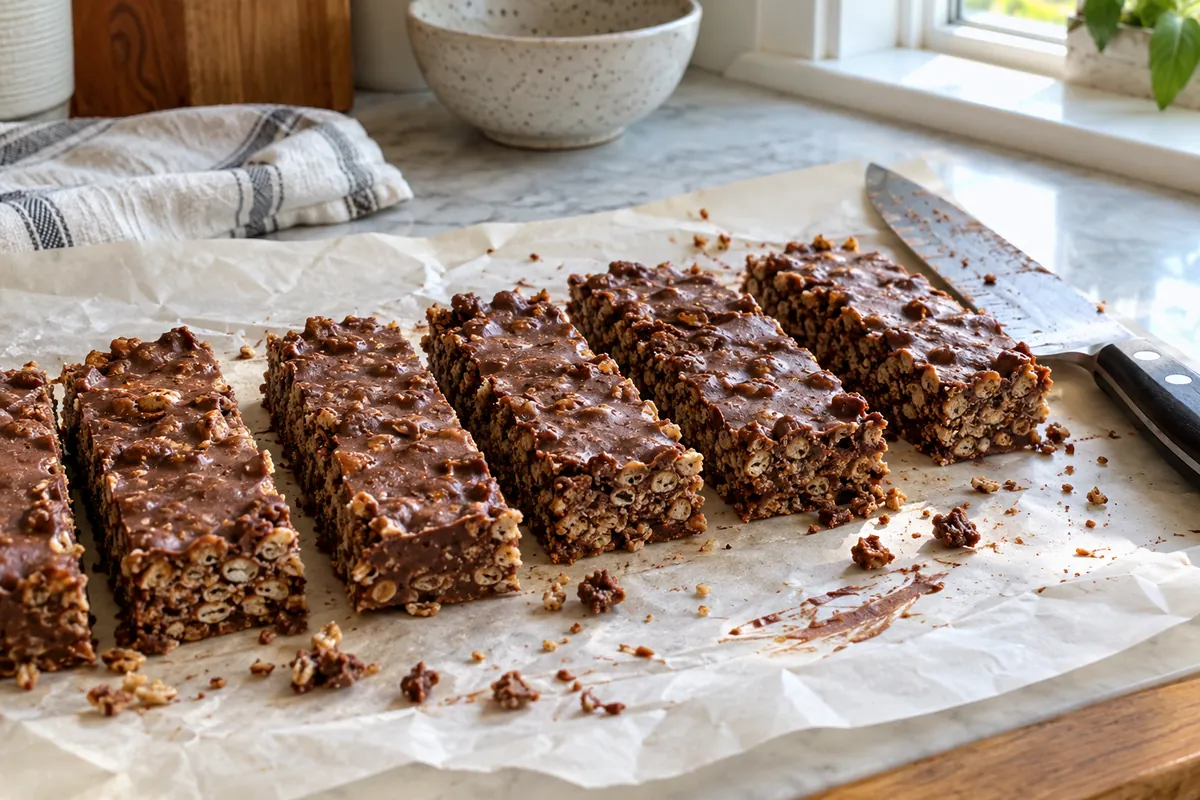
- Cut. Lift the slab out by the parchment and set it on a cutting board. Slice with a sharp knife into bars. If the slab is very cold and cracks at the edges, let it sit for 5 minutes first.
Which Pan Should You Use?
This recipe makes roughly 1 3/4 cups of mixture, so pan size controls thickness. These are approximate, but they give you a good idea:
- 8×4-inch loaf pan: about 3/4 inch thick. Chunky, candy-bar-style bars with a satisfying bite. It suits this amount of mixture best.
- 9×5-inch loaf pan: about 1/2 inch thick. A slightly slimmer bar that still holds together well.
- 6×6-inch pan: about 2/3 inch thick. Easy to cut into squares.
- 8×8-inch pan: about 3/8 inch thick. Thin and snappy, but the mixture may not reach the corners evenly, so press carefully or double the recipe.
Cut an 8×4 slab crosswise into 8 bars, or into 12 smaller ones if you want snack-size pieces.
Tips for Smooth, Glossy Melting
- Use low power and short bursts. Chocolate scorches quickly, and once it turns grainy and stiff you can’t fix it.
- Stir between every burst. Chips hold their shape even when they are soft, so they can look unmelted when they are ready. Stir before you decide.
- Keep water away. A drop of water or a wet spatula can make melted chocolate seize into a thick paste. Dry your bowl and tools first.
- Stop before it is completely melted. Pull the bowl out when a few small lumps remain and keep stirring. The leftover heat finishes the job.
- Use a creamy peanut butter. Natural styles can leave the bars greasy or soft unless you stir the jar very well first.
Variations
Nut-Free Swap
Replace the peanut butter with sunflower seed butter in the same amount. Check that your chocolate chips are made in a nut-free facility if you are cooking for someone with an allergy.
Milk vs. Dark Chocolate
Milk chocolate gives you a sweeter, softer bar that tastes closest to a classic candy bar. Semi-sweet is the middle ground. Dark chocolate makes a more grown-up bar, with a deeper flavor and a slightly firmer snap. You can also mix, say half milk and half dark.
A Pinch of Flaky Salt
Sprinkle a small pinch of flaky salt over the top right after pressing the mixture into the pan. It sharpens the chocolate and makes the peanut butter taste more roasted.
ADVERTISEMENT
Add-Ins
- A handful of chopped roasted peanuts, folded in with the cereal
- Mini marshmallows, added once the mixture has cooled for a minute so they don’t melt
- Chopped pretzels for a salty crunch
If you add more than about 1/2 cup of extras, stir in a little more peanut butter or a few extra chocolate chips so everything stays bound together.
Storage
Fridge: Keep the bars in an airtight container, with parchment between layers, for 1 to 2 weeks. They stay firmest when cold.
Freezer: Wrap the bars individually or layer them with parchment in a freezer-safe container, and they will keep for up to 3 months. Thaw in the fridge for about 15 minutes, or eat them straight from the freezer if you like a harder bite.
Because the bars contain chocolate, they soften quickly in a warm room, so don’t leave them on the counter for long.
Frequently Asked Questions
Why are my homemade crunch bars crumbly?
Usually it comes down to too much cereal or not enough pressing. Measure the cereal level, and press the mixture firmly into the pan, especially at the edges and corners. Chilling the slab fully before cutting helps too.
ADVERTISEMENT
Can I make them without a microwave?
Yes. Melt the chocolate chips and peanut butter together in a heavy saucepan over the lowest heat, stirring all the time. Or set a heatproof bowl over a pot of barely simmering water, making sure the bottom doesn’t touch the water.
Can I use something other than chocolate chips?
Chopped baking chocolate or a chocolate bar works in the same amount by weight, roughly 9 ounces. Candy-coating wafers taste waxier, so chocolate is the better choice.
Do I have to chill them for a full hour?
One hour in the fridge is the target. In a hurry, the freezer can do it in about 20 to 30 minutes. If the bars feel soft or bend when you lift the slab, give them more time before cutting.
Final Thoughts
Make the basic three-ingredient version first, see how you like the thickness and the chocolate, then adjust from there. A batch in the fridge means a snack is always ready.
ADVERTISEMENT